If you have any questions or dificulities manging your business website, just reach out to our Customer Success Managers!
Statuses & Standard Process flow
1.1 Status definitions
In total, there are five types of status for a booking. They can be selected and changed from the Status field in the Bookings tab:
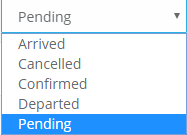
- Confirmed - the status blocks a parking space slot. Once a reservation is set to Confirmed the car parking booking system blocks a particular parking space, and it is not available for further purchase - for the specific date and exact period.
- Pending - by default, all new reservations are recorded as Pending. Pending status does not block a resource (parking space).
- Cancelled - when the reservation is cancelled and not valid anymore, the booking system releases the resource (parking space slot).
- Arrived - indicates that client has arrived and is occupying a parking space at the moment.
- Departed - shows that the client has left their parking space and that their booking is complete.
1.2 Default reservation status flow
By default, the status set for new bookings is Pending. If the clients have chosen an online payment method, and they have transferred the money for the deposit fee, then the booking status will automatically switch from Pending to Confirmed. Our system converts the status from Pending to Confirmed when it receives at the background a confirmation notification from the payment gateway in use.
Otherwise, if it is an offline payment method (bank transfer or cash payment) the status of the reservation will stay with a Pending status until an administrator changes it manually.
If you want to set a different default status for new reservations you can do it from the Car Parking Engine menu / Options menu / General Options sub-menu.
As an administrator, you have a certain say over what happens with the reservation status flow. But you cannot change the status meanings. For example, the Pending status does not block a resource, and you cannot change that.
1.3. Notifications and reservation status
The car parking system triggers automated emails (if they are active) depending on the reservation status - Pending, Confirmed and Cancelled. The booking system sends two email notifications: to the admin and the clients.
You can manage email notifications via the Car Parking Engine menu / Options menu / Notifications sub-menu.
Note that the notification for a Confirmed reservation (Payment has been received) will be triggered only if the status is changed automatically in case of an confirmed online payment. If the system admins change the status manually, the email notification will not be sent automatically. They can send it manually through the Edit Reservation screen.
Bookings Listings
The Car Parking Engine has three Booking listings. There are two separate tabs for Arrivals and Departures. They are created so the people who serve on sight can see which clients are going in and out.
- All bookings - all reservations are by default sorted based on the chronological order when they first entered the reservation system.
- Arrivals - shows all incoming vehicles for an exact date.
- Departures - shows all outgoing vehicles for an exact date.
The arrival and departure tab can be quickly filtered by location and date if you want to know for a specific location on a particular time, which cars you will be expecting.
Printing reports
Printing reports is easy with our reservation system. You can do it only with a few clicks by selecting the data you want and using the Print button 
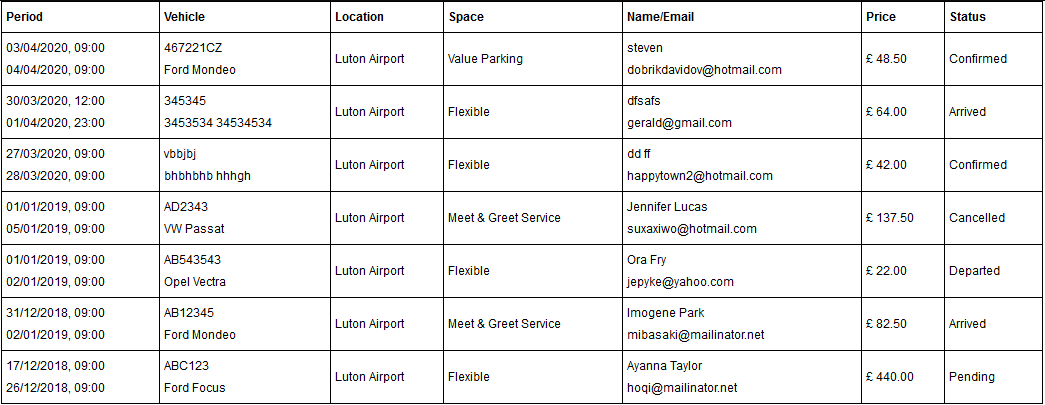
Here is an example report from All Bookings tab:
This the arrival report for a certain date from the Arrivals tab

Grid Management
The Car Parking Engine offеrs easy search options, and you can use the Advanced Search options when you want to search by a specific attribute.
- Search bar - With the search bar you can seek results from Vehicle and also the Name/Email field. With the Advanced search option ( the button is this one
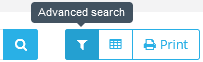 ) you can search by specific features. You have also a quick filter by location positioned on the right of the Print Button.
 - Grid View options - You can view them from the Grid Setting Button
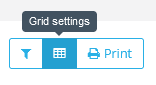
Note that when you add a column you can name it however you wish from the Column label field.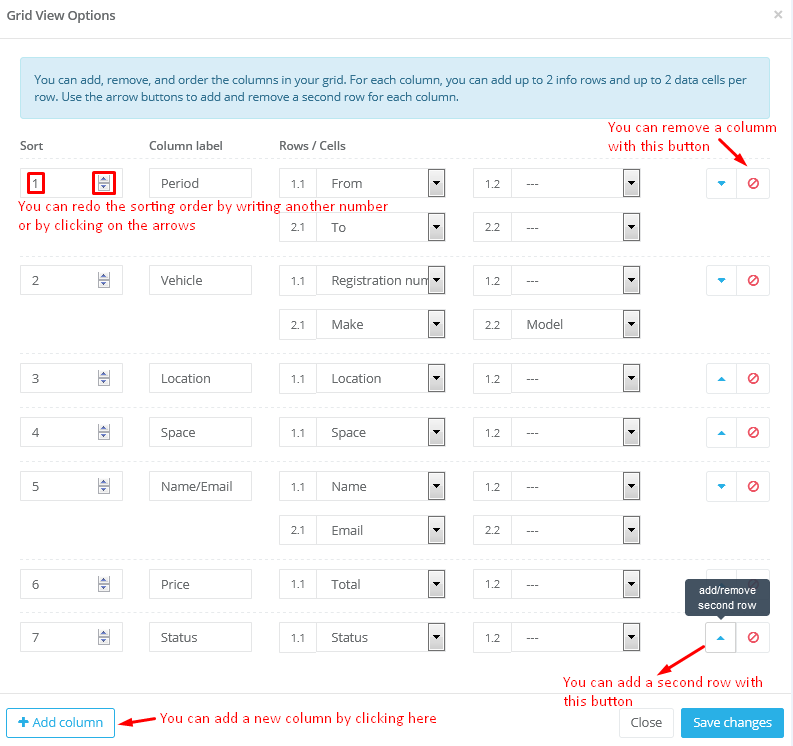
- Sorting options - The booking software allows you to quickly sort (with one click) by default by four attributes - location, space, price, status. You can do it by using this small button positioned on the left of the column label.
Edit Booking
Editing reservations is a part of the working process, which cannot be skipped sometimes.
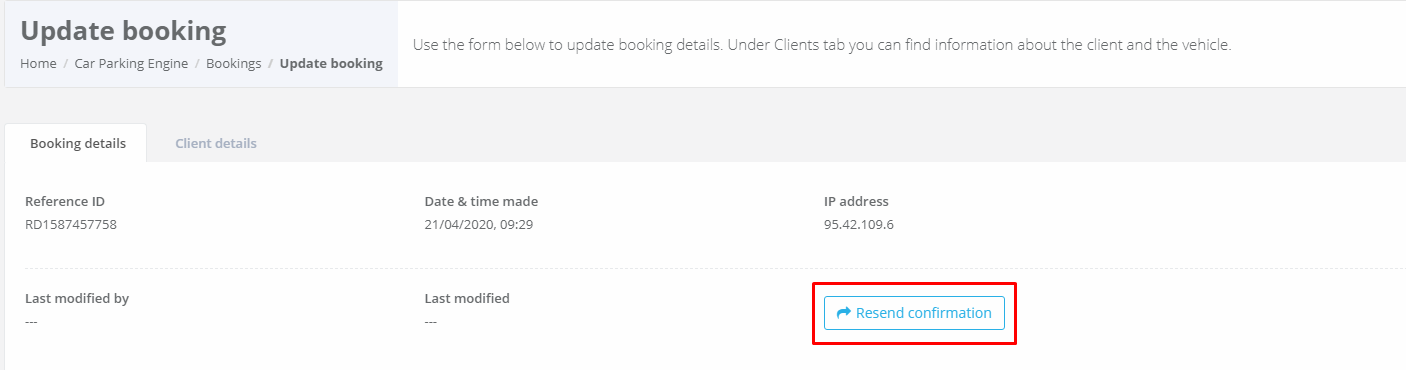
If you want to edit a booking you need to go to the Car Parking Engine menu / Booking menu / Click on the Pencil icon on the right of the Booking Status (show on the screenshot below)

From the Update booking menu itself you can change the booking status, the period, location, space (parking space), apply a promo code and add extras.
- Why does the price information and Parking Space selection disappear when I change the period of the booking?
Because when you change the date, the reservation software performs a check again in the backend which Parking Spaces are available in the Location and validates the correct pricing for the period.
- How can the clients cancel their booking?
The clients can cancel their booking via a link in the reservation confirmation, which looks like this:

The link is located at the bottom of the Reservation Confirmation email.
- Can I resend the confirmation email to the clients?
Yes, you can resend confirmations from the Update booking menu. Here are the steps you need to follow:
- Go to Car Parking Engine menu / Booking menu and Click on the Pencil icon on the booking you want to resend

- Click on the
 button.
- When you click the button a dialogue tab will open and where you will need to choose from the Message type drop-down menu -> Resend Confirmation email. Note that by default it the booking software will show Reservation cancellation email
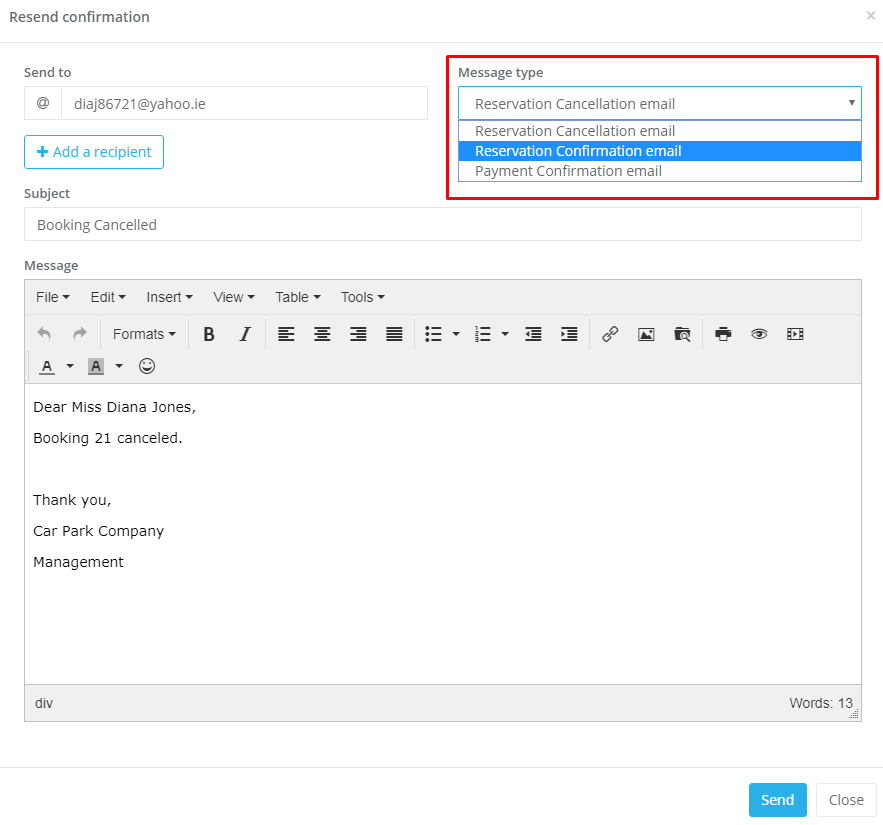
- Choose which email to send it to and customize the subject and the message text. You can add more recipients from the Add a recipient button if you need.
- Click Send, and the following pop-up will show and you are done
TIP: From the Resend Confirmation menu, you can also resend clients the Cancellation email or the Payment confirmation email to the clients.
- Other changes
You can do changes to the Payment method as well. For example, you can change it from an online (Skrill) to an offline (Cash) payment method. This will not send a notification to the clients or the admin.
The booking system also offers you the possibility to edit the Client Details, if something was misspelt or missed while the client was filling out their details. When you do such changes, the client is not notified unless you resend him a notification regarding this.
If a reservation status is changed from Pending to Confirmed in the Update booking menu the reservation system will ask you if you want to send a confirmation notification to the client.
Add booking
You can manually create a reservation from the Add booking button  The added booking is calculated according to the up to date price from the reservation software.
When you add a new reservation from this field, the Car Parking Engine does not send an automatic notification to the clients or the admin.
You will need to do this manually with the button.
Exporting bookings
If you want to export your booking data and import it to another software, you can do this by following these few quick steps and export it in CSV format.
Here are the steps:
- Select which fields you want to export by left-clicking the checkbox next to the first column of the table. If you want to select all of them, go to the left-click the top checkbox.
- Click on Choose Action -> Export
- A pop-up dialogue window will open, which will allow you to Open or Save the CSV file.
If the CSV format is not suitable for your need, we can create a modification for you.